
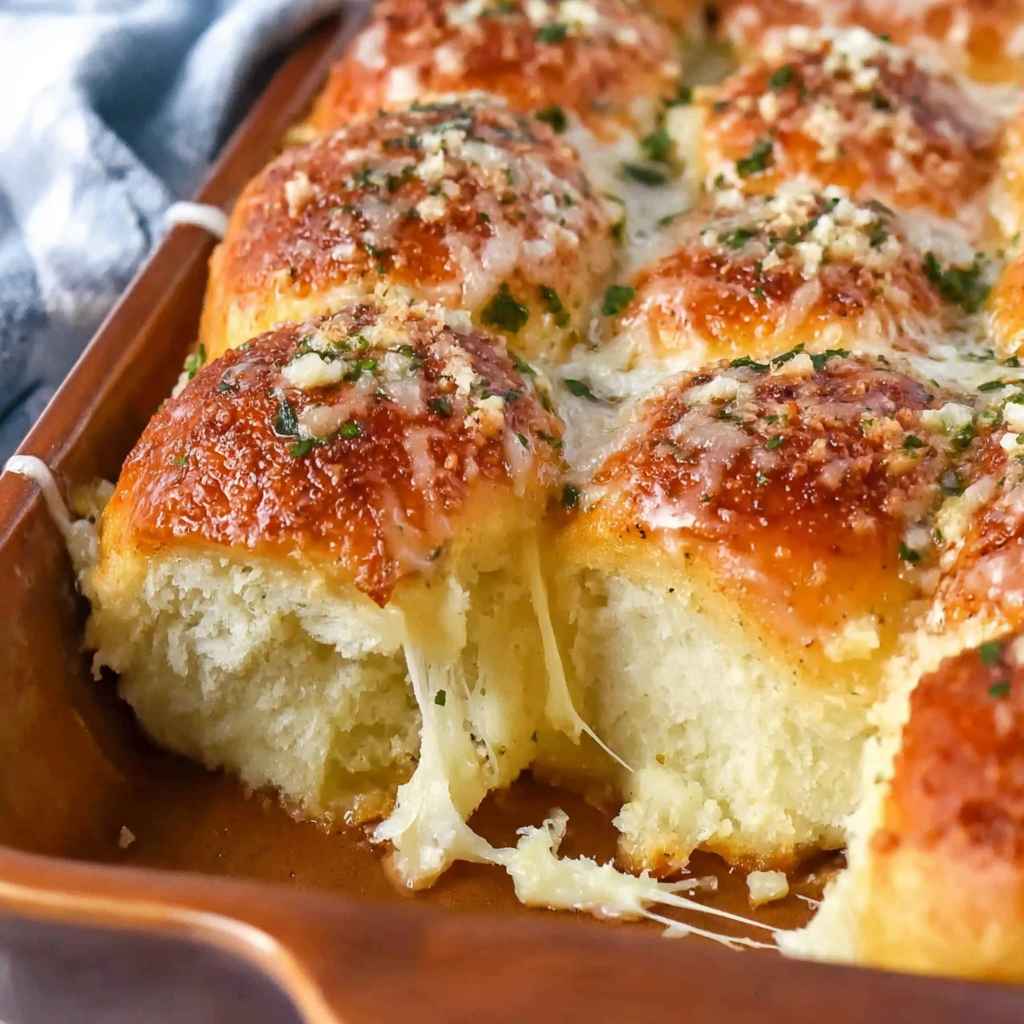
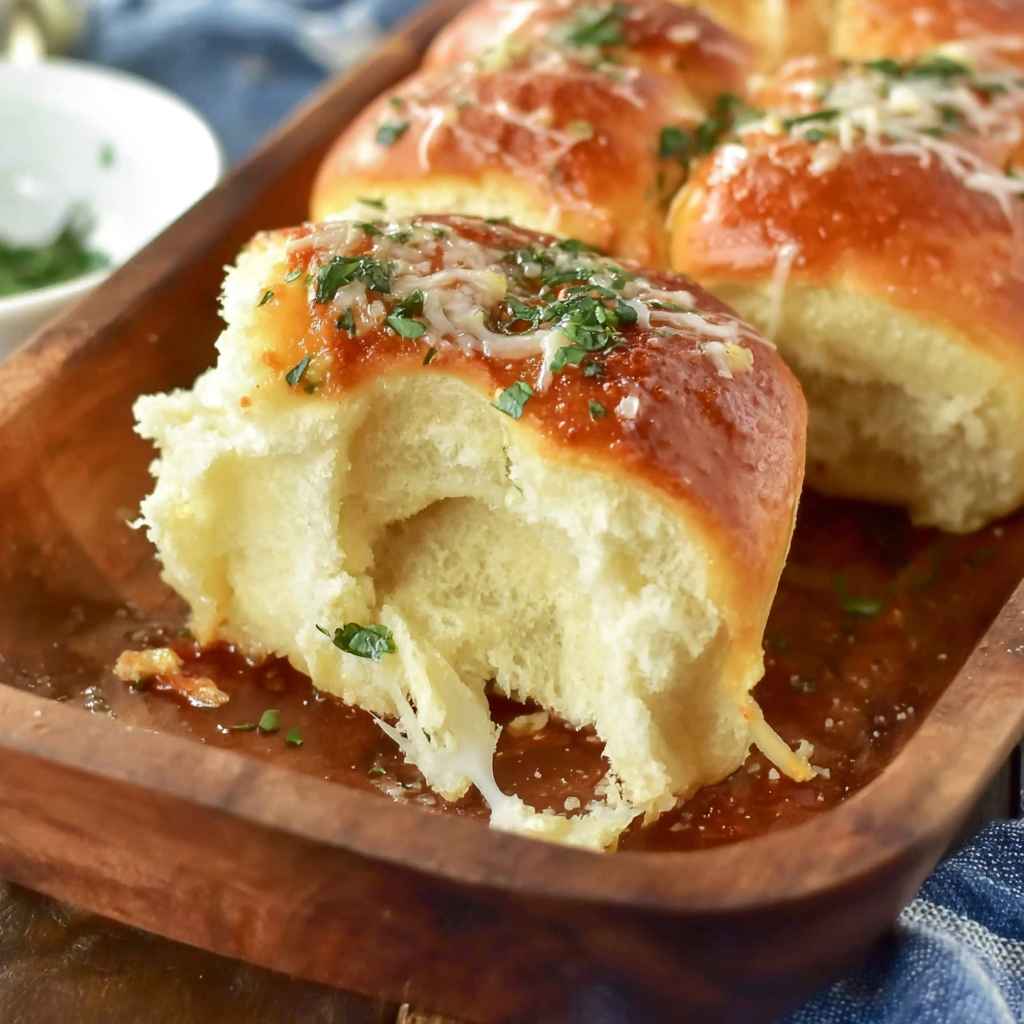
Hawaiian Garlic Rolls are the ultimate side dish that combines the signature sweetness of fluffy bread with a savory, herb-infused garlic butter. Ready in just 20 minutes, these pull-apart rolls are the perfect addition to any family dinner or holiday spread. Whether you are serving them alongside a hearty soup or a classic pasta dish, these rolls disappear in minutes.
Table of Contents
Why You Will Love This Recipe
There is a reason why Hawaiian Garlic Rolls are a viral sensation and a household staple. First, they strike the perfect balance between the sugary notes of the Hawaiian bread and the pungent, salty kick of fresh garlic. Second, the preparation is incredibly simple, requiring only a handful of pantry staples and a single baking sheet. Because they use pre-baked rolls, you skip the rising time and go straight to the delicious part. This recipe is also highly customizable, allowing you to add cheese or different herbs depending on what you have in your kitchen.
Ingredients
- 6 Tablespoons Butter, melted
- 2 Tablespoons Parsley, finely chopped
- 4 cloves Garlic, finely chopped
- 12 Hawaiian Rolls (such as King’s brand or store-brand sweet rolls)
- Coarse Salt, like Maldon Sea Salt (optional for topping)
Step-by-Step Instructions
- Preheat your oven to 400°F (200°C) and prepare a rimmed baking sheet.
- In a small mixing bowl, whisk together the melted butter, finely chopped parsley, and chopped garlic until well combined.
- Place the 12 Hawaiian rolls on the baking sheet. Keep them connected as a single block for that classic pull-apart style.
- Using a serrated knife, cut a deep “X” into the top of each individual roll. Be careful not to cut all the way through to the bottom.
- Slowly pour the herb garlic butter over the rolls. Use a spoon or a pastry brush to ensure the butter gets deep into the “X” cuts and drips down the sides of the bread.
- Bake the rolls uncovered for 7 to 10 minutes, or until the tops are golden brown and the bread is warmed through.
- Remove from the oven, sprinkle with coarse salt if desired, and serve immediately while warm.
Expert Tips / Pro Tips
To get the best results with your Hawaiian Garlic Rolls, use a serrated knife (like a bread knife) to make the incisions. This prevents the soft rolls from squishing down while you cut. Additionally, while jarred minced garlic is convenient, fresh garlic cloves provide a much more vibrant and aromatic flavor that stands up to the sweetness of the bread. If you want a crispier bottom, you can lightly grease the baking sheet with a little extra butter before placing the rolls down. Finally, keep a close eye on the oven during the last two minutes of baking, as the sugar content in Hawaiian rolls causes them to brown very quickly.
If you want to take these Hawaiian Garlic Rolls to the next level, try one of these variations:
Cheesy Garlic Rolls: Stuff a small amount of freshly grated Parmesan or shredded Mozzarella into the “X” slits before pouring the butter.
Protein-Packed: Turn these into sliders by tucking a small piece of deli ham or turkey into the slits for a quick snack or mini-meal.
Herb Swaps: If you don’t have parsley, try using fresh chives, green onions, or even a pinch of dried Italian seasoning.
Spicy Kick: Add a pinch of red pepper flakes to the melted butter mixture for a subtle heat that complements the sweetness.
Serving Suggestions
These rolls are incredibly versatile and pair well with almost any main course. They are a natural fit for Italian-inspired meals like Chicken Parmesan or a big bowl of Instant Pot Spaghetti. They also serve as the perfect vessel for soaking up the broth in a Mini Meatball and Orzo soup. For a simple weeknight dinner, serve them alongside crispy baked chicken or grilled salmon.
Storage: Leftover rolls can be stored in an airtight container at room temperature for up to 2 days.
Freezing: For the best quality, freeze the rolls and the garlic butter separately. If the rolls are already baked, wrap them tightly in foil and place them in a freezer bag for up to one month.
Reheating: To regain that fresh-baked texture, reheat the rolls in the oven at 350°F for about 5 minutes. If you are in a hurry, you can microwave them for 15-20 seconds, though the crust will be softer.
Nutrition Information
| Nutrient | Amount Per Serving (1 Roll) |
|---|---|
| Calories | 137 kcal |
| Carbohydrates | 15g |
| Protein | 3g |
| Fat | 7g |
| Saturated Fat | 4g |
| Cholesterol | 23mg |
| Sodium | 130mg |
| Sugar | 4g |
FAQ
Can I use salted butter for this recipe?
Yes, you can use salted or unsalted butter. If you use salted butter, you may want to skip the extra sprinkle of coarse salt at the end to ensure the rolls aren’t too salty.
What if I can’t find King’s Hawaiian brand?
Most grocery stores, including Trader Joe’s and Aldi, carry their own version of “Sweet Hawaiian Rolls.” Any soft, sweet yeast roll will work perfectly for this recipe.
Do I have to cut the “X” in the top?
While not strictly required, the “X” cut allows the garlic butter to seep into the center of the roll, ensuring every bite is flavorful rather than just the very top surface.
Can I make these ahead of time?
You can prep the garlic butter and cut the rolls ahead of time, but for the best texture, it is recommended to pour the butter and bake them just before serving so the bread doesn’t become soggy.
Hawaiian Garlic Rolls
Ingredients
Equipment
Method
- Preheat your oven to 400°F (200°C) and prepare a rimmed baking sheet.
- In a small mixing bowl, whisk together the melted butter, finely chopped parsley, and chopped garlic until well combined.6 Tablespoons Butter, 2 Tablespoons Parsley, 4 cloves Garlic
- Place the 12 Hawaiian rolls on the baking sheet. Keep them connected as a single block for that classic pull-apart style.12 Hawaiian Rolls
- Using a serrated knife, cut a deep “X” into the top of each individual roll. Be careful not to cut all the way through to the bottom.
- Slowly pour the herb garlic butter over the rolls. Use a spoon or a pastry brush to ensure the butter gets deep into the “X” cuts and drips down the sides of the bread.
- Bake the rolls uncovered for 7 to 10 minutes, or until the tops are golden brown and the bread is warmed through.
- Remove from the oven, sprinkle with coarse salt if desired, and serve immediately while warm.Coarse Salt